If your sink sprayer diverter valve quits working, chances are the diverter inside the faucet has become clogged. This is normal after a certain time due to the natural process of wear and tear. It’s time to fix your sink faucet diverter valve.
Before you call a plumber you can simply try to fix it by following a simple process.
A couple of days ago I was also searching for this solution but never found any easy-to-understand resource that I can follow.
So I had gone through a lot of research and waste plenty of my time (that you may not want to) and finally got a way to fix it. I thought If it works for me, it will definitely work for others.
So Let’s dive into the process.
How does a kitchen faucet diverter valve work
Before fixing, it’s necessary to understand how does a kitchen faucet diverter valve works in simple terms. The diverter inside your kitchen faucet mainly works to drop the water pressure. When you squeeze the trigger, it constraints the regular water flow and redirects the water from the faucet spout to your RO/DI unit or Sprayer.
If your diverter is defective the sprayer may let out very little water or none at all. Also the sprayer may pulsate continuously. And the water may flow continuously out of the faucet when the sprayer is still in use.
Fix your sink faucet diverter valve: the 4 Step process
Step 1: Turn Off the Water
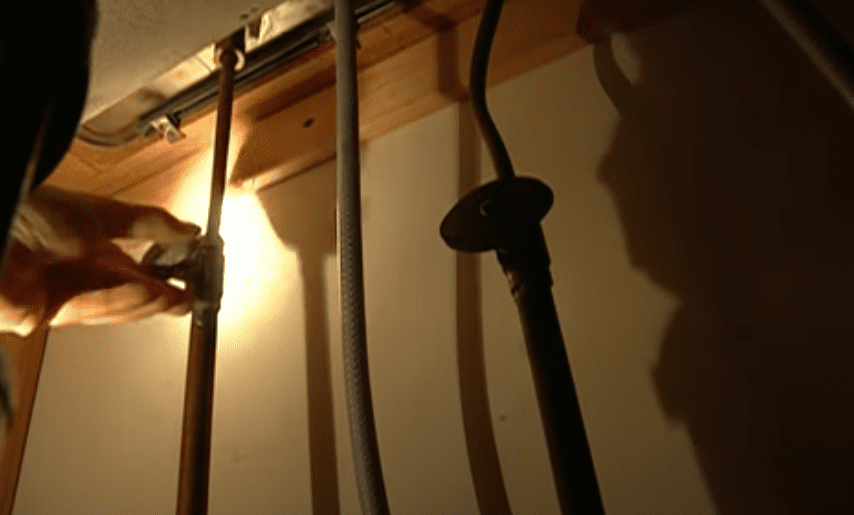
To fix your sink faucet diverter valve you need to turn off the water first. Look for the hot and cold shutoff valves located under the sink. Rotate clockwise and turn them off. Don’t overtight them.
If there are no shutoff valves under the sink, you can turn off the main shutoff valve, which will turn off the water to all of your fixtures. Turn the tap on to empty out any water remaining within the lines.

Step 2: Locate the Diverter
In order to get to the diverter, you need to pull the cap off located on the bottom of the handle or behind the faucet spout.
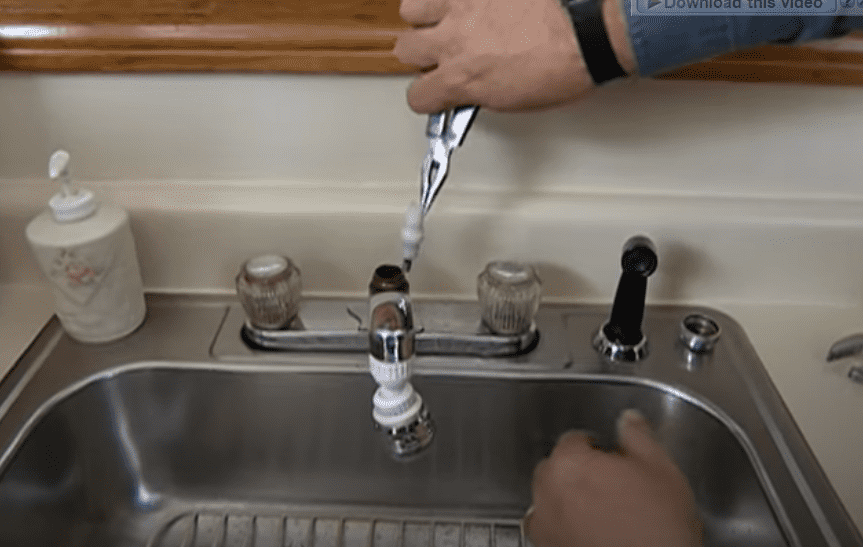
Place a rag over the cap behind the spout. Rotate the cap counterclockwise using tongue-and-groove pliers but careful, it shouldn’t be that tight. Remove the cap to expose the top of the diverter.
Insert a butter knife or a nickel into the slot at the top of the diverter. Turn the diverter counterclockwise to release it from the faucet body. This can take eight to ten threads.
Remove the sink faucet diverter valve from the hole in the faucet body with needle-nose pliers.

Step 3: Clean the Diverter
Soak the diverter for an hour or two in a 1/4 cup of white vinegar mixed with a 1/4 cup of water to break down the mineral deposits.
Use a small brush, carefully clean the area on the faucet body where the diverter sits to remove any deposits or blockages from the area.
Step 4: Re-install the Diverter
Now, Wrap the clean diverter threads in thread-seal tape, just one-two layers. Then, Insert the diverter into the faucet body. Again You need a butter knife or nickel again to reinstall it. Turn the diverter clockwise until it is tight.
Put the faucet cap on the faucet body. Again to avoid scratches cover the cap with the rag before tightening it with the pliers.
If you are all set now turn the water supply on and test it’s working or not.
Watch the video below to understand more precisely how to fix a sink faucet diverter valve:
Things You Will Need
Rag
Pliers, tongue-and-groove
Butter-knife or nickel
White vinegar
Thread-seal tape
needle-nose pliers
What if cleaning doesn’t work
If soaking it in the vinegar mixture does not unclog the diverter then the only way to fix a sink faucet diverter valve is to replace it with a new one. You can get it cheap on amazon. Check your brand and search for a match. Or, take the diverter to a home improvement center or plumbing supply to find a replacement to match the original.
Read next: How to Fix a Gurgling kitchen sink (7 simple Tips)

